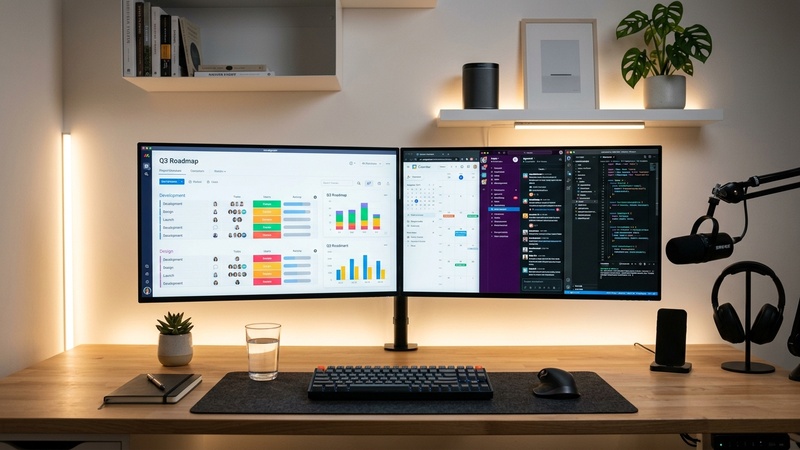

Research consistently shows that dual monitors increase productivity by 20-40%. Whether you are coding, editing videos, working in spreadsheets, or researching online, having a second screen to extend your workspace is transformative. Windows has excellent built-in support for multiple displays — here is how to set it up perfectly.
Step 1: Connect Your Second Monitor
First, identify what video ports you have available on both your PC and monitor:
- HDMI — Most common port. Carries both audio and video up to 4K 60Hz. Available on almost all modern PCs and monitors.
- DisplayPort — Higher bandwidth than HDMI. Supports higher refresh rates (144Hz, 240Hz+). Common on gaming monitors and high-end displays.
- USB-C / Thunderbolt — Used on modern laptops. One cable handles power, video, and data. May need a USB-C hub or adapter.
- DVI — Older port, video only. Being phased out but still found on older hardware.
- VGA — Very old analog connection. Avoid if possible — image quality is noticeably lower.
If your ports don’t match, use an adapter. HDMI to DisplayPort adapters, USB-C to HDMI adapters, etc. are inexpensive and widely available.
Most laptops have at least one HDMI port. If your laptop only has USB-C ports, a USB-C to HDMI adapter or a USB-C hub with HDMI output works perfectly and costs under $20.
Step 2: Configure Display Settings
Open Display Settings
Right-click anywhere on your desktop and select Display settings. You can also reach it via Settings > System > Display.
Detect the monitor
If your second monitor doesn’t appear, scroll down and click Detect. Once detected, you will see two numbered rectangles representing your monitors.
Choose “Extend these displays”
Scroll down to Multiple displays and select:
- Extend these displays (Recommended) — Each monitor shows different content. Your mouse moves between them seamlessly.
- Duplicate these displays — Both monitors show identical content. Useful for presentations.
- Show only on 1 or 2 — Use just one monitor.
Step 3: Arrange Monitor Positions
The numbered rectangles in Display Settings represent your physical monitors. Drag them to match how your monitors are physically arranged on your desk. If your main monitor is on the left and the second is on the right, position the rectangles the same way. This ensures your cursor flows naturally between screens without jumps.
Click Identify to display large numbers on each monitor so you can confirm which is Monitor 1 and which is Monitor 2.
Step 4: Set Resolution and Refresh Rate
Click on each monitor rectangle to configure it individually:
- Resolution: Set to the monitor’s native (recommended) resolution for the sharpest image
- Display scale: Adjust if text appears too small or too large. 100% is standard, 125% is common for 1440p monitors
- Refresh rate: Set to the maximum your monitor supports. Check your monitor’s specs for 60Hz, 144Hz, 165Hz, etc.
Step 5: Set Your Primary Monitor
Your primary monitor is where the taskbar, system tray, and new windows appear by default. In Display Settings, click your preferred main monitor, then check “Make this my main display.”
Step 6: Show Taskbar on Both Monitors
- Right-click the taskbar > Taskbar settings
- Scroll to Taskbar behaviors
- Enable Show my taskbar on all displays
Useful Keyboard Shortcuts for Dual Monitors
- Win + Shift + Left/Right — Move the active window to the other monitor
- Win + P — Switch between display modes instantly (Extend, Duplicate, Second screen only, PC screen only)
- Win + Home — Minimize all windows except the one you’re working in
In Windows 11, you can set different wallpapers for each monitor. Right-click your desktop > Personalize > Background. Right-click any wallpaper image and choose which monitor to apply it to.
zSmartFix Editorial Team
Step-by-step technical guides tested on real hardware. Our guides are independently written and freely accessible to everyone.
Leave a Reply