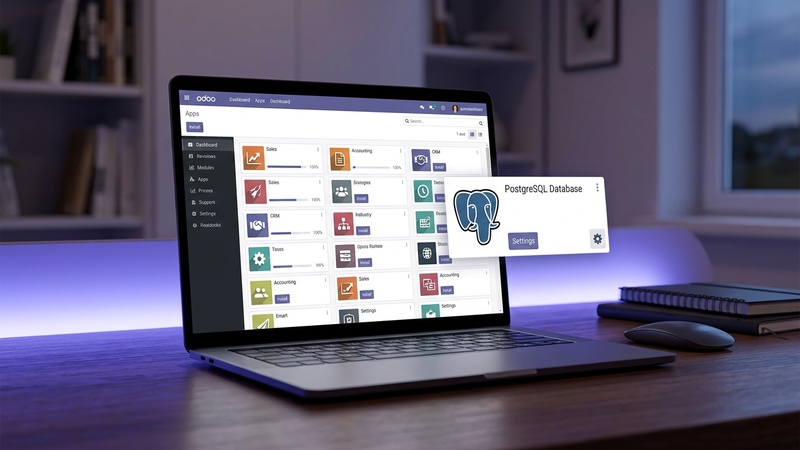

- What is Odoo ERP & Windows Compatibility
- Hardware & Software Prerequisites
- Step 1: Download Official Odoo Windows All-in-One Installer
- Step 2: Execute Installation Wizard & PostgreSQL Setup
- Step 3: Understanding & Editing odoo.conf
- Step 4: Launching Odoo & Creating Master Database
- Step 5: Initializing Core Business Modules
- Step 6: Managing Odoo Windows Services & Firewalls
- Comprehensive Windows Troubleshooting & Logs
1. What is Odoo ERP & Windows Compatibility
Odoo is a modular Enterprise Resource Planning system used by over 12 million users worldwide. Built on Python and PostgreSQL, Odoo integrates essential business functions — Accounting, Invoicing, Sales, CRM, Inventory, Point of Sale (POS), e-Commerce, and HR — into a single synchronized database.
While Odoo is commonly deployed on Linux in production, running Odoo natively on Windows 10 or Windows 11 provides a powerful environment for local business operations, module testing, custom development, and demonstration setups without requiring WSL or Linux virtual machines.
2. Hardware & Software Prerequisites
PostgreSQL and Odoo Python processes run concurrently. For optimal performance:
• CPU: Dual-Core 2.0GHz or higher (Quad-Core recommended)
• RAM: 4GB minimum (8GB recommended for smooth multi-module operation)
• Storage: 10GB free disk space (SSD strongly recommended)
• OS: Windows 10 (64-bit), Windows 11 (64-bit), or Windows Server 2019/2022
Step 1: Download Official Odoo Windows All-in-One Installer
Odoo provides official “nightly” all-in-one executable installers for Windows that bundle Odoo server, Python binaries, Wwkhtmltopdf (for PDF generation), and PostgreSQL pre-configured.
Navigate to Official Nightly Downloads
Open your browser and visit nightly.odoo.com.
Select Stable Release Version
Click on 17.0 (Stable) or 18.0 (Development/Stable), then enter the windows/ directory.
Download the Latest Build
Download the latest executable file named odoo_17.0.latest.exe (file size ~300MB).
Step 2: Execute Installation Wizard & PostgreSQL Setup
Run Installer as Administrator
Right-click odoo_17.0.latest.exe in your Downloads folder and choose Run as administrator.
Select Components
Ensure both Odoo Server and PostgreSQL Database check boxes are ticked. Click Next.
Configure PostgreSQL Database Connection
The wizard requests database connection parameters. Defaults:
• Server Hostname: localhost
• Port: 5432
• Username: openpg
• Password: Enter a secure database password (e.g. OdooPostgre2025!) and document it.
Select Installation Directory
Default target directory is C:Program FilesOdoo 17.0. Click Install. The process will copy Python dependencies, initialize PostgreSQL database tables, and register the Odoo Windows Service (takes 5-10 minutes).
Step 3: Understanding & Editing odoo.conf
Odoo’s behavior on Windows is controlled by the configuration file odoo.conf located at:
C:Program FilesOdoo 17.0serverodoo.confKey configuration parameters inside odoo.conf:
[options]

; Database connection settings

db_host = localhost

db_port = 5432

db_user = openpg

db_password = OdooPostgre2025!
; Odoo HTTP Service Port

http_port = 8069

longpolling_port = 8072
; Master Password for database creation/deletion

admin_passwd = SuperMasterSecret2025!
; Addons Path for Custom Modules

addons_path = C:Program FilesOdoo 17.0serverodooaddons, C:Program FilesOdoo 17.0custom_addons
Step 4: Launching Odoo & Creating Master Database
Open Browser to Port 8069
Open Chrome or Edge and navigate to: http://localhost:8069
Fill out Master Database Creation Form
Complete the setup form carefully:
• Master Password: Enter the admin_passwd defined in your odoo.conf.
• Database Name: Enter a lowercase database name without spaces (e.g., zsmartfix_erp).
• Email / Password: This becomes your Super Administrator login credentials.
• Language & Country: Select your business location to automatically load correct accounting standards and currency symbols.
• Demo Data: Leave unchecked for real business setups; check for testing features.
Click Create Database
Click Create database. Odoo will build the core database tables and redirect you to the main Application Dashboard.
Step 5: Initializing Core Business Modules
Once logged into your new Odoo instance, click Install on your primary business apps:
- ✅ Invoicing & Accounting: Customer billing, vendor bills, bank sync, financial reporting
- ✅ Sales & CRM: Quotations, pipeline management, customer contacts
- ✅ Inventory & Purchase: Stock levels, reordering rules, purchase orders
- ✅ Point of Sale (POS): Retail cash register interface
Step 6: Managing Odoo Windows Services & Firewalls
Odoo installs as a background Windows Service that auto-starts with Windows boot.
:: Open Windows Services tool

Win + R -> type services.msc -> Enter
:: Manage via Windows PowerShell (Run as Administrator)

Get-Service -Name "odoo-server-17.0"

Restart-Service -Name "odoo-server-17.0"
:: Allow Odoo port through Windows Defender Firewall

New-NetFirewallRule -DisplayName "Odoo ERP (Port 8069)" -Direction Inbound -LocalPort 8069 -Protocol TCP -Action Allow
Comprehensive Windows Troubleshooting & Logs
Issue 1: “This site can’t be reached” on localhost:8069
Check if the PostgreSQL service or Odoo service stopped. Open PowerShell as admin and run:
Start-Service postgresql-x64-15

Start-Service odoo-server-17.0
Issue 2: PDF Printing Errors (Wwkhtmltopdf)
If printing invoices produces plain HTML instead of PDF, verify Wwkhtmltopdf is in your system PATH:
:: Check wkhtmltopdf version

wkhtmltopdf --version
Download Wwkhtmltopdf 0.12.5 (with patched qt) if needed from wkhtmltopdf.org.
Congratulations! Your Odoo ERP system is now fully installed and operational on Windows. You can access it anytime at http://localhost:8069.
zSmartFix Editorial Team
Step-by-step technical guides tested on real hardware. Our guides are independently written and freely accessible to everyone.
Leave a Reply