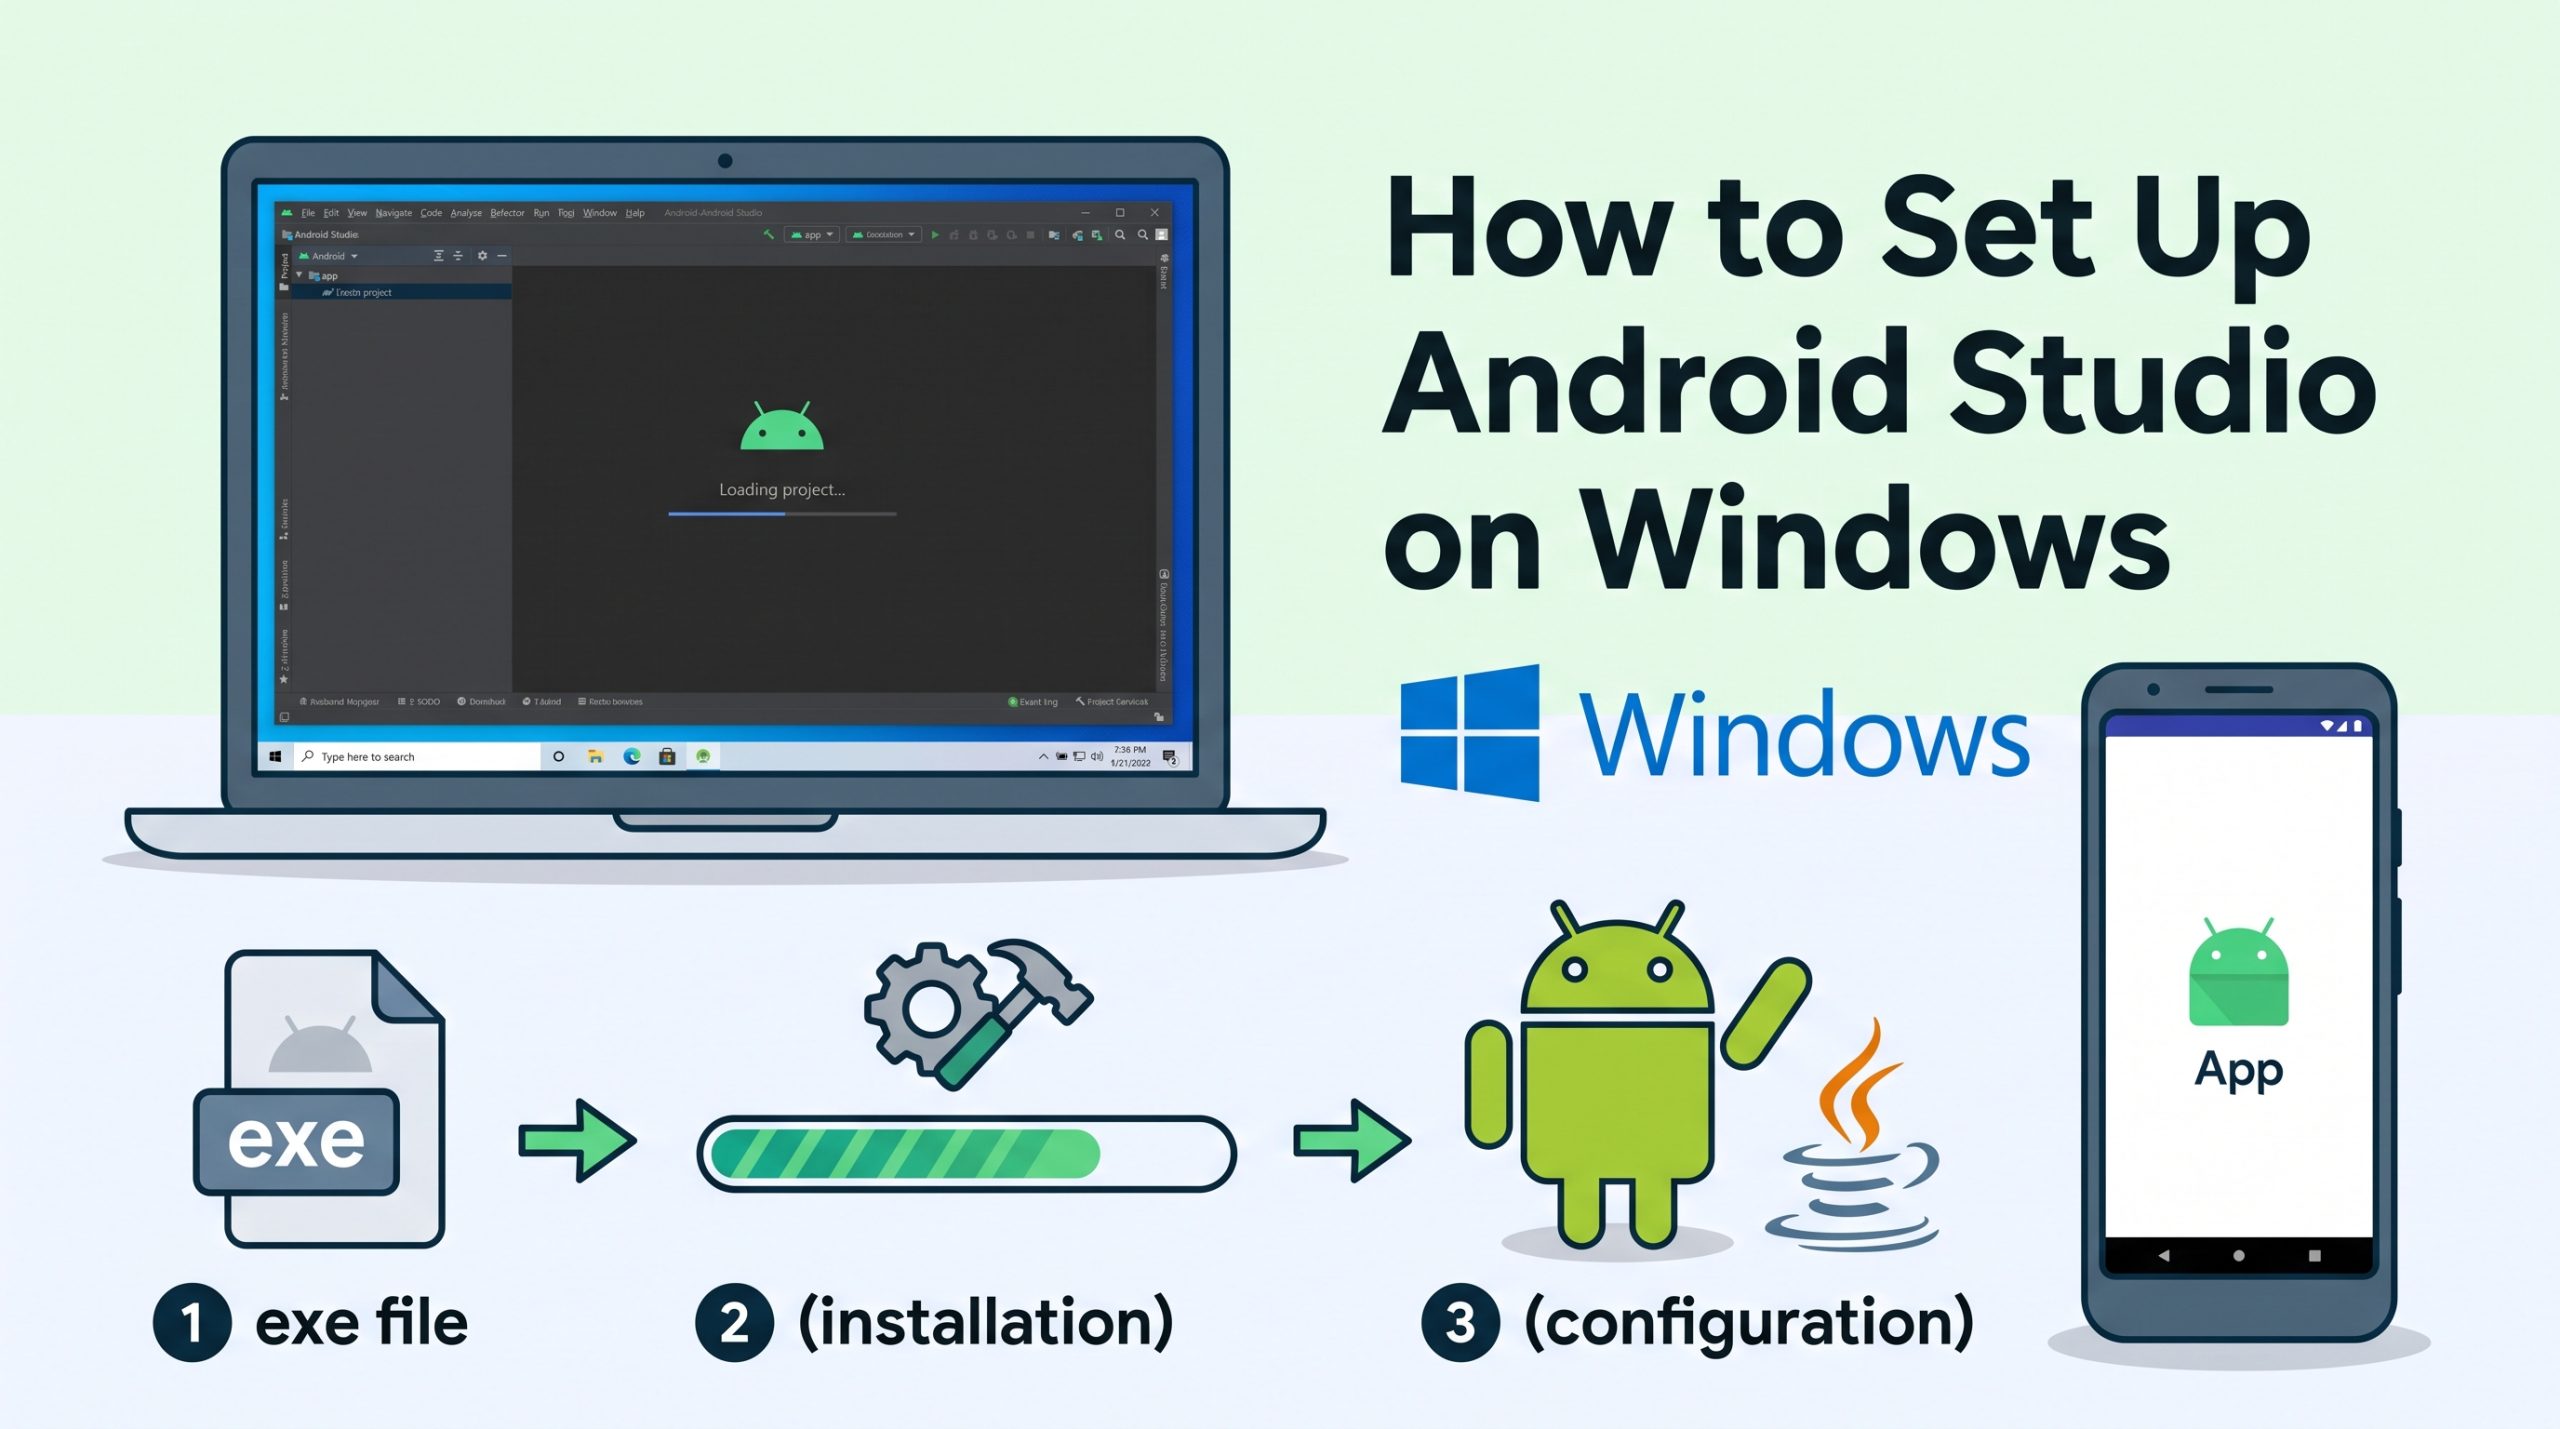
Android Studio needs at minimum: 8GB RAM (16GB recommended), 8GB free disk space for the IDE (plus 10-15GB for the Android SDK), 64-bit Windows 8/10/11. The emulator requires hardware virtualization (Intel VT-x or AMD-V) enabled in BIOS.
Step 1: Download Android Studio
Go to the official site
Visit developer.android.com/studio and click Download Android Studio Hedgehog (or the latest version).
Accept the license and run
Accept the license agreement, then run the downloaded .exe installer. Keep default settings and ensure Android Virtual Device (AVD) is checked.
Step 2: Complete the Setup Wizard
Choose Standard installation
On first launch, the Setup Wizard appears. Select Standard — this automatically installs all required SDK components.
Accept SDK licenses
Click Accept next to each license, then click Finish. The SDK components will download (takes 10-20 minutes depending on your internet speed).
Wait for download to complete
A progress bar shows the SDK downloading. Do not interrupt this process.
Step 3: Create Your First Android Project
Start a new project
Click New Project on the Android Studio Welcome screen.
Choose Empty Activity
Select Empty Activity (or Empty Views Activity) — the simplest template for beginners. Click Next.
Configure your project
Set these values:
- Name: My First App
- Package name: com.example.myfirstapp
- Save location: Any folder you prefer
- Language: Kotlin (recommended — the modern Android language)
- Minimum SDK: API 24 (Android 7.0) — covers ~95% of active devices
Click Finish
Android Studio generates the project and may download additional Gradle components. This can take a few minutes.
Step 4: Set Up the Android Emulator
Open Device Manager
Go to Tools > Device Manager (or click the phone icon in the right toolbar).
Create a Virtual Device
Click Create Device > select a phone (Pixel 6 is a good choice) > Click Next.
Select a System Image
Choose the latest API level (API 34 for Android 14). If it shows a download link, click Download next to it. After downloading, select it and click Next, then Finish.
Step 5: Run Your App
Start the emulator
In Device Manager, click the play button next to your virtual device. The emulator takes 1-3 minutes to boot on first launch.
Run the app
Press Shift + F10 or click the green Run button (triangle). Select your emulator from the device list and click OK. Your app appears on the emulator screen showing “Hello World!”
Alternative: Use a Physical Device
If the emulator is too slow, test on a real Android phone:
- Enable Developer Options on your phone (Settings > About Phone > tap Build Number 7 times)
- In Developer Options, enable USB Debugging
- Connect your phone via USB and allow the computer access
- Your device appears in the device dropdown in Android Studio
Enable hardware virtualization in your BIOS (Intel VT-x or AMD-V) and install HAXM from Android Studio’s SDK Manager. This significantly speeds up the emulator. If your CPU doesn’t support it, use a physical device instead.
zSmartFix Editorial Team
Step-by-step technical guides tested on real hardware. Our guides are independently written and freely accessible to everyone.
Leave a Reply