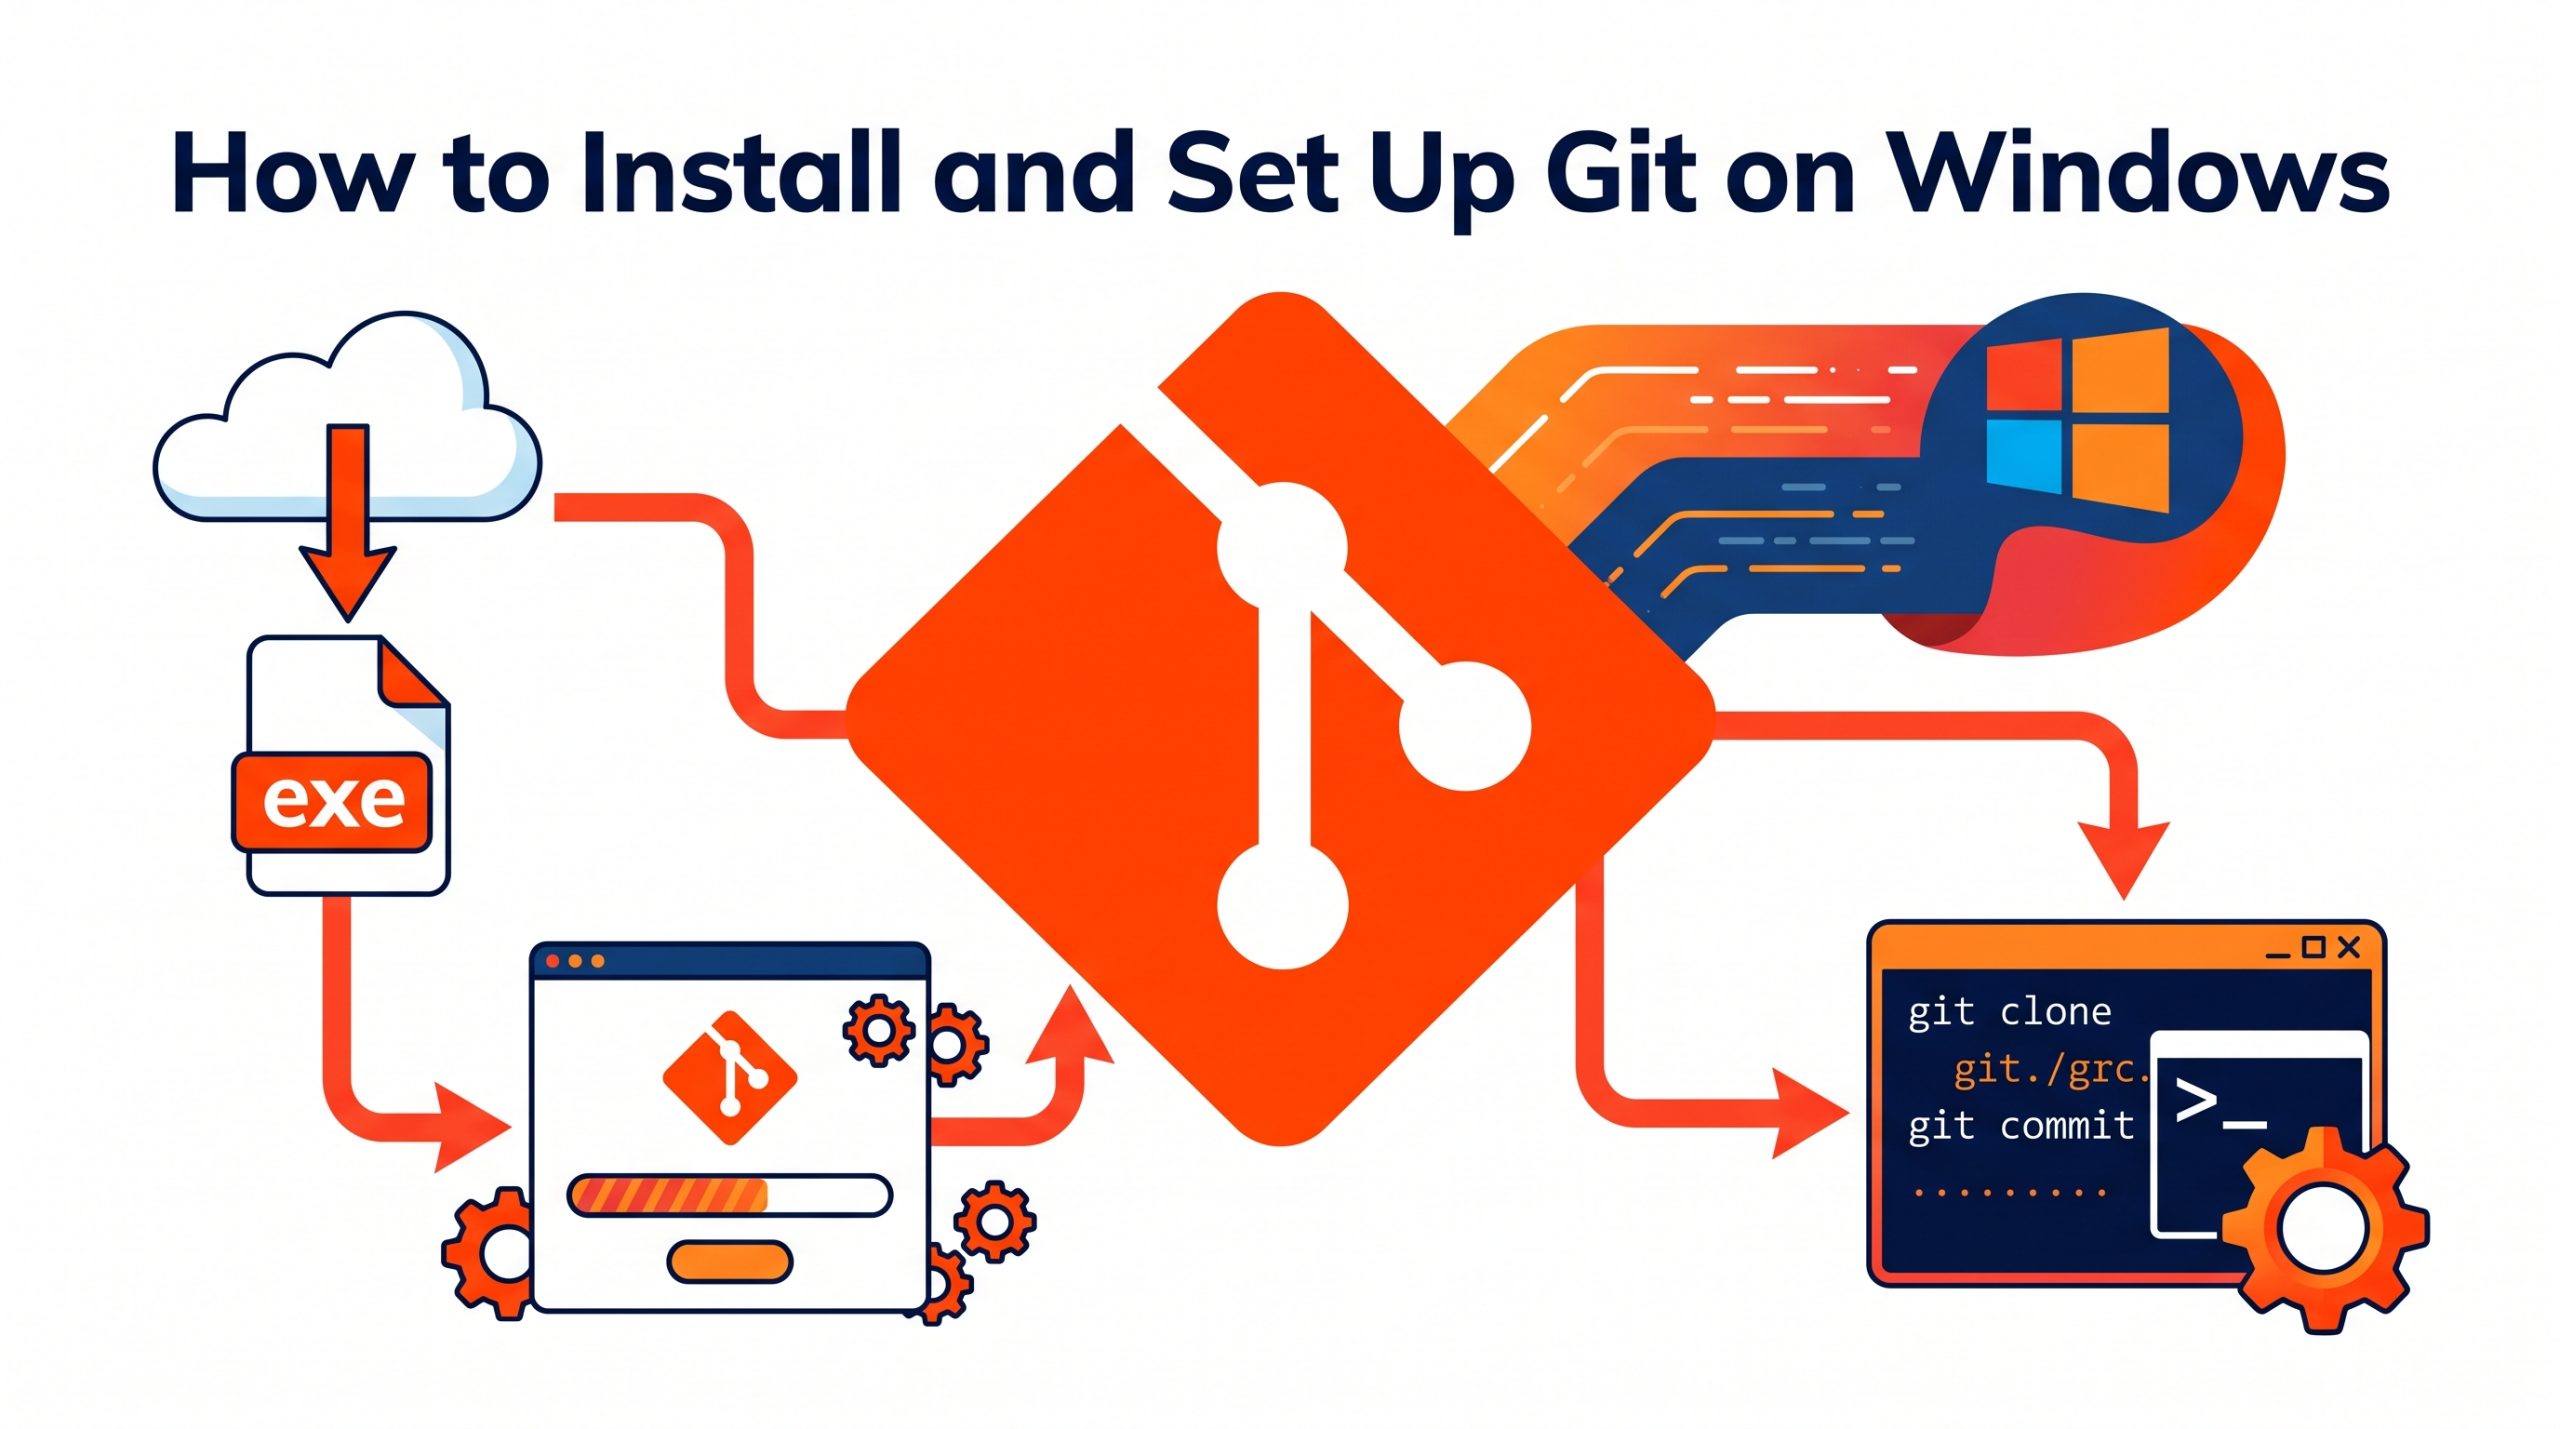
Git tracks every change you make to your code, lets you collaborate with others on the same project, and lets you roll back to any previous version instantly. It is used by every professional software team in the world. Here is how to get it running on Windows.
Step 1: Download Git for Windows
Download the installer
Go to git-scm.com/download/win. The download starts automatically.
Run the installer
Keep most defaults. Important settings to choose:
- Default editor: Change from Vim to VS Code if you prefer it
- PATH environment: Select “Git from the command line and also from 3rd-party software”
- Line endings: “Checkout Windows-style, commit Unix-style line endings”
- Default branch name: Change to main (the modern standard)
Step 2: Configure Your Git Identity
This is required — Git uses this information to sign every commit you make. Open Git Bash (search in Start Menu):
git config --global user.name "Your Full Name"

git config --global user.email "your@email.com"git config –list
Step 3: Verify the Installation
git --version

# Expected output: git version 2.45.0.windows.1
Step 4: Create Your First Repository
# Create a new folder for your project

mkdir my-project

cd my-projectgit init
echo “# My Project” > README.md
git add .
git commit -m “Initial commit”
Step 5: Push to GitHub
After creating an account on GitHub and creating a new empty repository there:
# Connect your local repository to GitHub

git remote add origin https://github.com/yourusername/your-repo.gitgit push -u origin main
Essential Git Commands Reference
git status— See which files changed since your last commitgit add .— Stage all changes for the next commitgit commit -m "message"— Save your staged changesgit push— Upload commits to GitHubgit pull— Download and merge the latest changes from GitHubgit log --oneline— View a compact commit historygit branch feature-name— Create a new branchgit checkout -b new-branch— Create and switch to a new branchgit merge branch-name— Merge a branch into current branchgit stash— Temporarily save changes without committing
VS Code has excellent built-in Git support. Press Ctrl + Shift + G to open the Source Control panel where you can stage, commit, and push without ever typing a command.
zSmartFix Editorial Team
Step-by-step technical guides tested on real hardware. Our guides are independently written and freely accessible to everyone.
Leave a Reply